
Basic Wiki Cheat Sheet
Welcome to the Basics of a Wiki! Here we will guide you through several easy steps on how to use Wikispaces.Home Page Edit Tool
Below is a picture of five edit features you can use for your convenience. If you want to create a new page, for example, all you have to do is click on the Page icon, enter a name, and your page will be created! Below is a detailed list of each icon and what their uses are for a Wiki page.
Create New Page: Add a new page to your Wiki. After you enter the name of your page, it will show up on your navigation menu.
Add Files To Storage: Allows you to add files to your Wikispaces storage.
Create Discussions On Homepage: Creates new posts on a page for users to hold on a discussion.
Create Project: Develop a new project for your Wiki that will also show up under your Events page.
Create Events: Create an event that will be displayed on your Wiki Calendar for users to view.

Members: Allows the creator the Wiki page to add members to their site. Members can view, contribute,
 and even edit the Wiki depending on what level of privilege the creator gives them. All you have to do is click on the “Invite People” tab on the Members page and you will be prompted to enter their email address for an invitation.
Projects: Creating a project is very simple, all you have to do is click on the “Create Project” tab and it will
 show up on your Projects page. Projects allow you to assign teams to users as well as a page to edit if need be. Users can show their work on these pages and even create new ones that will be linked from their teams page.
 Events: Events allow you to alert other users on your Wiki about things that are upcoming, such as projects or exams. Events are added to your Calendar, which can be viewed on the Events page.
Assessment: The Assessment page allows you to view the activity of each user on your Wiki. If a user is active, it will show the times and dates of their activity.
Settings: Allows the user to manage the general settings of their Wiki. Features such as themes, domain name, pages, ext. can all be managed on this page.
Creating Links
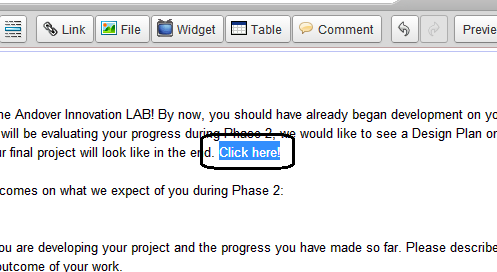
Creating Links: Creating links out of text on your Wiki is simple! All you have to do is copy the url you wish to link, highlight your text on your Wiki page, and click on the “Link” button. Once you are in the link window, you can choose what kind of link you want to use. “Page or File” creates a link to a file you uploaded onto your Wiki storage, Web Address creates a link to a webpage, and Email address creates links to emails.
Step 1: Edit Tab
Click on the edit tab on the top right corner of the page you wish to add a link to. This turns the page into edit mode, which allows you to change any content the page contains.
Step 2: Highlight your text you wish to link
Highlight over the text you wish to turn into a link. Also ensure you copy the url of the link you want to use.
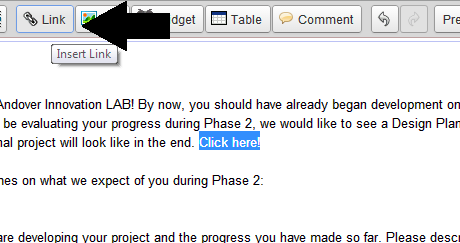
Step 3: Link tab
With your text highlighted, select the Link tab on your toolbar. This will open a window.
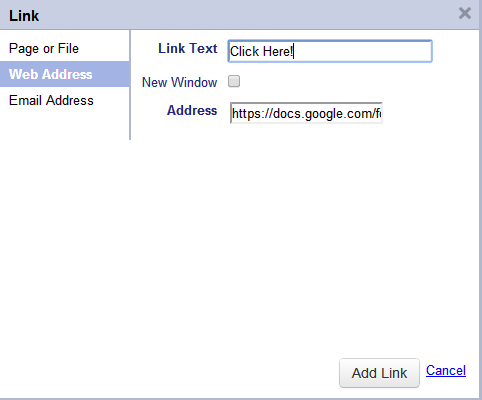
Step 4: Select your type of Link
Select your type of link, between a file, website, or email address, and paste your desired url inside of the Address bar. Your highlighted text should appear in the Link Text bar as shown below.
Step 5: Test your link
Now that your link appear on your page, click on it and select visit. Your link should now work properly.
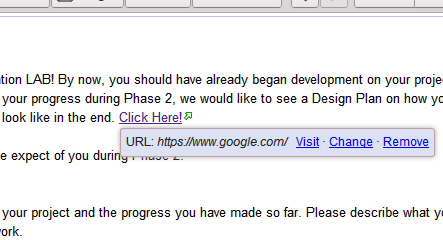
You should now have clickable links on your page! Linking an email or file from your storage works the same way as you would link your address.
Importing Content & Images
Using the tool bar under edit mode is a very efficient way of managing your content. The Widget tool allows you to import music, videos, and other kinds of media files to your page, and other tools like the spell checker, File uploader, and font editors will prove to be very helpful when structuring your content.Font Editor Tools
Like most user-interfaces on any major application you use such as Google Forms or Microsoft Office, the tool bar on Wikispaces has all of the essential editing tools needed to manage your content the way you see fit.
Links, Formatting & Importing
While the tool allows you to format your text, you can also create links, load images, upload videos, and many other things using these features of the toolbar. Remember to always press Save on the right when you are finished working on something!
Navigation With Editing
You can navigate and edit your navigation menu at your own leisure using the edit navigation tool, and the Pages and Changes buttons allow you to view edits, files, and all of the pages on your Wiki.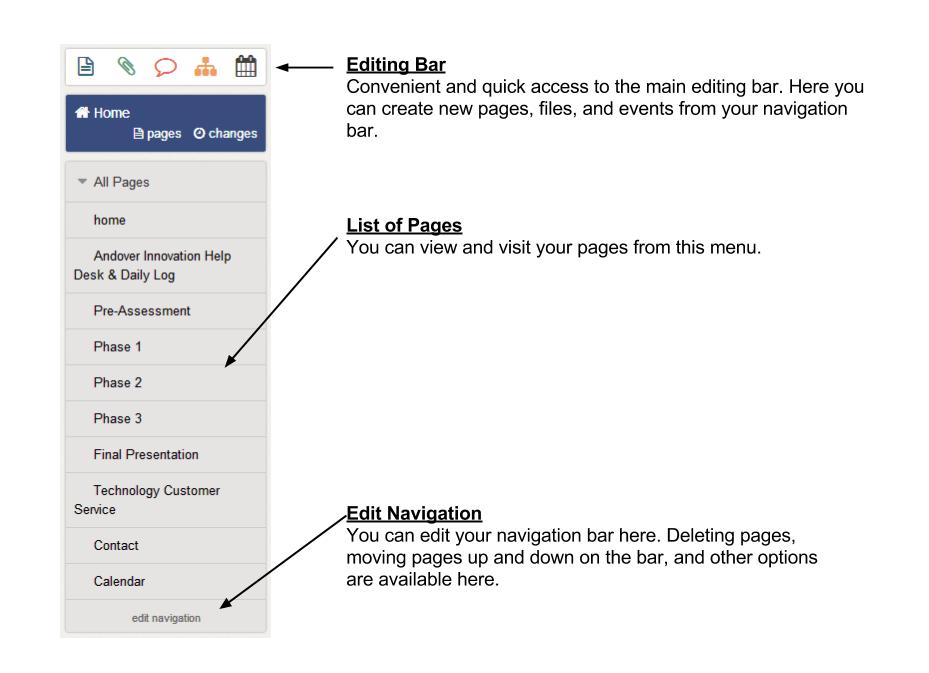
Calendar
You can view your calendar under your Events page. When adding a new event, it will automatically show up on your Calendar, which can be edited at any time.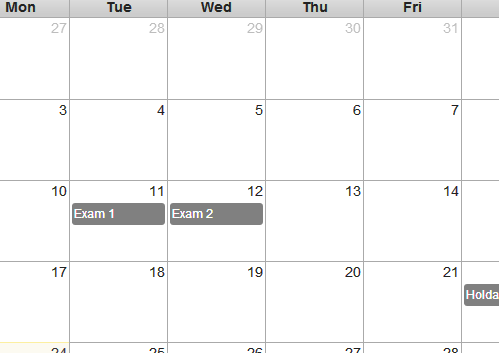
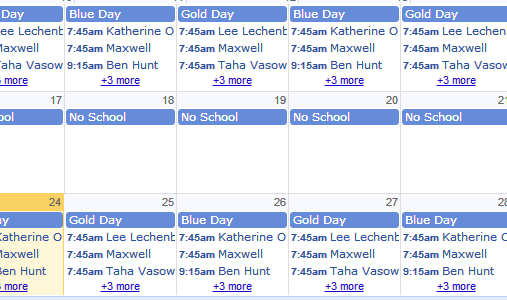
You can also import your Google Calendar into your Wiki if you wish.
1) First, you want to open the Google Calendar you wish to import. Under “My Calendar” you need to select the Calendar you wish, and go to “Calendar Settings.”
2) Once you are on the Calendar Settings page, Go to the Embed This Calendar tab and copy the text that it provides to you.
3) Go to a page on your Wiki, and when you are in Edit mode, click on the Widget button. A window will open and at the bottom of the navigation menu, there will be a tabbed named “Other HTML.” Go there, and paste the code you copied from your Google Calendar. The Calendar should now appear on your Wiki and will be updated every time you edit your Google Calendar.
Useful Tutorials & Resources On Wikispaces:
YouTube: http://www.youtube.com/watch?v=A_WdD-lIewg
Educational Software: http://educationalsoftware.wikispaces.com/Wikispaces+Tutorial
Wiki Tours: http://www.wikispaces.com/content/wiki-tour